Start with the map and one active quest
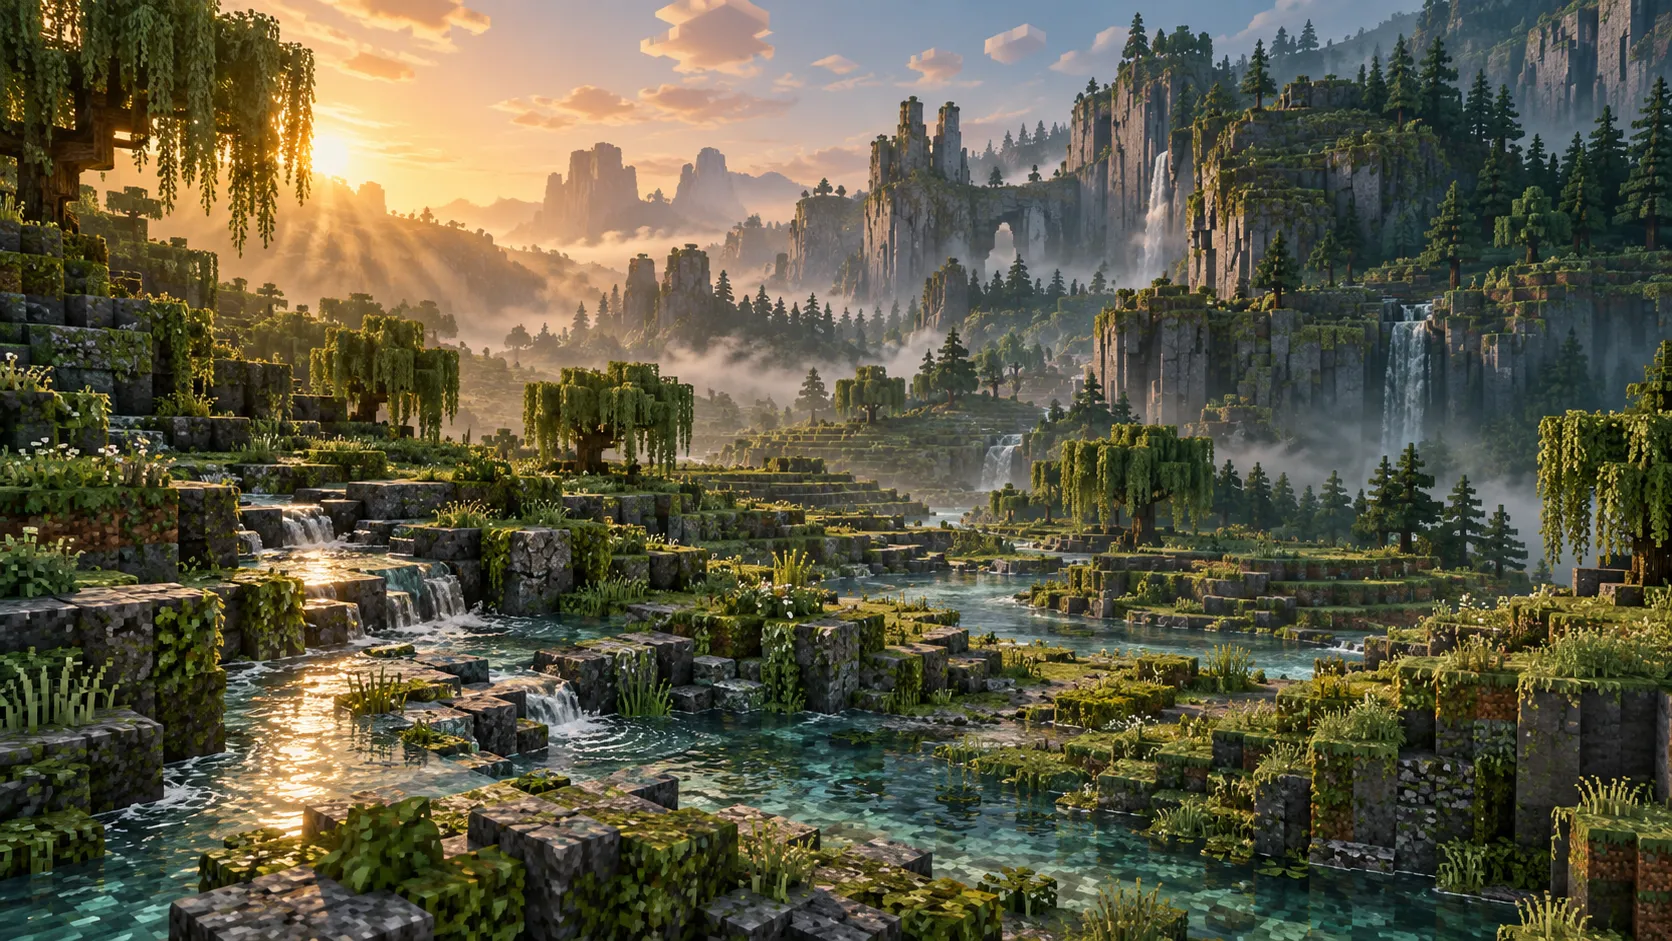
Minecraft Dungeons II uses connected regions and a quest system, so the journey between objectives is part of the game. Open the map to see your discovered places, choose the quest you want to advance, and use its Guidance Trail when you lose the route.
Main quests progress the central story; side quests provide local objectives and rewards. A side quest can be a useful detour, but it should not be confused with the main campaign step opening your next region. The quest directory identifies documented tasks and their locations.
The world includes caves and ruins whose layouts may vary between visits. Treat a named location and the objective on your screen as more reliable navigation cues than a turn-by-turn route copied from a different dungeon layout.
Activate return points as you discover them
Approach Minecart Stations to activate them. Interacting with an activated station opens the travel list, connecting it with other stations you have discovered. Activate the Deep Dark entrance and your Sift stations during ordinary progress so later quests require less backtracking.
The Guidance Trail is a temporary direction line to an active quest, rather than a teleport. The publisher’s controller example activates it by clicking the left thumbstick. For the travel network and recovery route after a defeat, use fast travel.
Understand what goes in each gear slot
The publisher describes twelve combat slots, up from six in the first game. Armor is separated into a helmet, chestplate, leggings, and boots. You also have melee and ranged weapons, artifacts, and the new talisman category.
Compare a new item with the item serving the same role. Look at its power, effect, and how it fits what you are trying to do before assuming a rarer name is always an upgrade.
| You want to change | Start here |
|---|---|
| How attacks feel, melee or ranged | Weapons |
| Passive bonuses and companions | Talismans |
| An effect from your enchantment library | Enchantment books |
| Where to spend an upgrade resource | Echo Shards |
Ranged ammunition refills automatically over time. Watch the current ammo counter and allow it to recharge between bursts; unlimited replenishment does not mean unlimited shots without waiting.
Complete the Enchantsmith introduction
Training with the Enchantsmith introduces the merchant and a book-recovery task. Speak to the Enchantsmith, follow the dungeon objective, and complete the active quest’s instructions.
Books add enchantments to a personal library. The Enchantsmith applies and upgrades those effects on gear; the Blacksmith handles equipment power and built-in effect rerolls. Decide which property you want to change before spending resources at either service.
Prepare for The Sift at the right story stage
The campaign offers an early story-rift visit and later opens the Ancient City portal after the Deep Dark and missing Note Block progression. For the complete sequence, use how to enter The Sift.
Before a difficult encounter, check your current health, the abilities available from your equipped artifacts, and the resources those abilities need. Movement includes both dodge rolling and jumping; jumping also supports attacks from above.
Inside The Sift, tides alter soul regeneration and artifact recovery. Endure Tide stops passive soul regeneration and brings stronger enemies. Ichor is a damaging environmental liquid, so plan a clear route through an arena instead of retreating into a pool when pressured.
Use failure to make one useful adjustment
If a boss defeats you, identify the attack that caused the problem before replacing every item. You may need a clearer path, better timing around an attack cue, or an ability you can use with your remaining souls. The Twisted Warden guide is an early example of reading a boss’s wind-up and lingering hazards.
After defeat, the documented recovery route returns you to Brave Haven, whose Teleport Statue can take you back toward a previously passed Respawn Shrine. See death and respawn for that sequence.
Continue with the Dungeons II overview for places and resident creatures, or choose the quest directory for the next task. This guide concerns Dungeons II’s campaign and equipment, rather than a Java or Bedrock mod installation.
Sources
- New gameplay systems in Minecraft Dungeons II
- How Minecraft Dungeons II’s Interconnected World Makes Every Journey an Adventure
- Minecraft Wiki: Minecart Station — revision 3808695
- Minecraft Wiki: Quest — revision 3806631
- Minecraft Wiki: Weapon — revision 3813205
- Minecraft Wiki: Training with the Enchantsmith — revision 3783620
- Minecraft Wiki: Sift Tides — revision 3812016